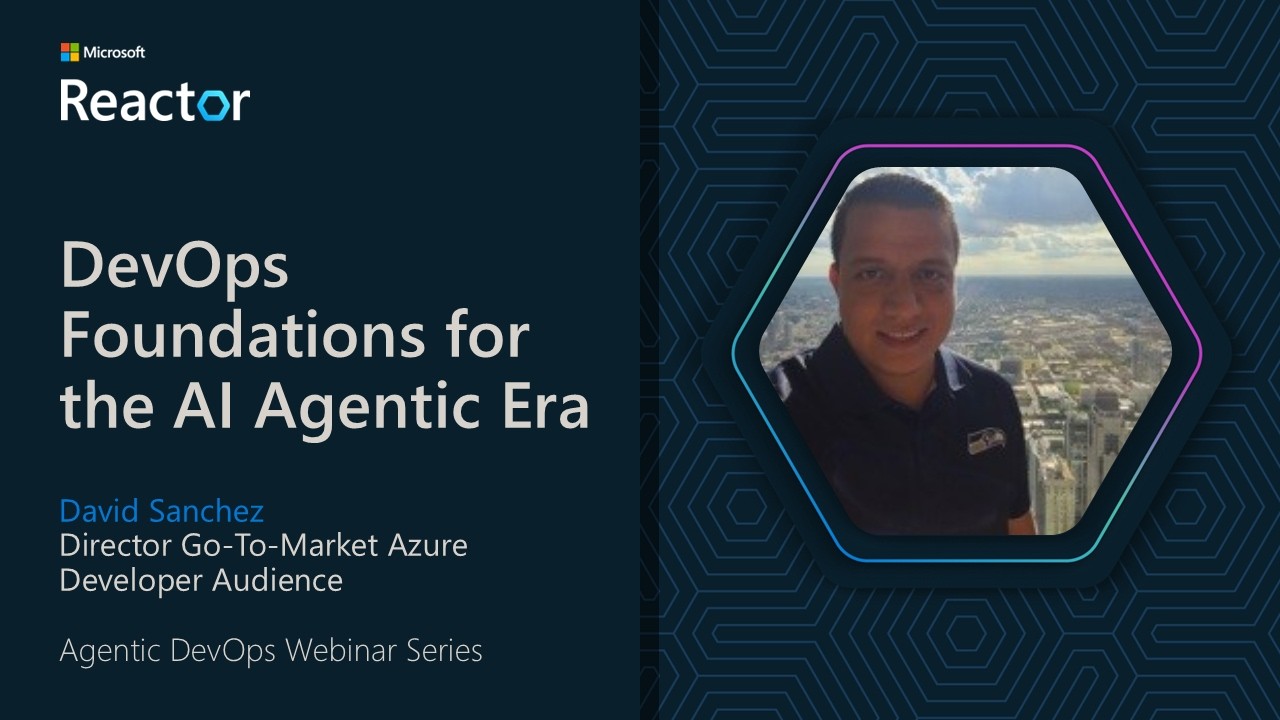
2 posts tagged with "Azure"

View All Tags

· 5 min read

Introduction

Many of our web app hosted on Azure are built on top of a PaaS service, such as Azure App Service and SQL Azure. These services are usually billed based on the amount of resources they consume. The more resources they consume, the more we pay. However, there are some best practices that we can follow to reduce the amount of resources consumed and, therefore, reduce the amount of money we pay. Specially if we are running a web app that is not used 24/7 or just used during business hours in the same time zone.

One of the cloud computing principles is the elasticity, meaning that we can scale up or down the resources that our app consumes based on the demand or schedule. This is a great feature of the cloud, but we should be aware of the cost implications of this feature. If we scale up our app to handle a peak of traffic, we should also scale down the resources when the traffic is back to normal.

In Azure App Service we have two ways to scale, scale up or down and scale out or in. Scale up or down means that we can change the size of the VM that our app is running on. Scale out or in means that we can add or remove VMs from our app. We can scale up or down and scale out or in at the same time. For example, we can scale up the size of the VMs and add more VMs to our app.

So if we have a production Web App that is not used 24/7, we should consider the following:

  • Scale down the app and database to the minimum resources needed during off-peak hours.
  • Scale up the app and database to the maximum resources needed during peak hours. (in addition, we should enable auto-scaling to scale out the app and add more instances when needed, through the rules that you define to scale out or in).

The process to scale up and down can be down manually from the portal as shown in the image.

However, this process can be tedious and error-prone. We can automate the process to scale up and down the Web App and the database during the night and weekends. This will reduce the amount of resources consumed and, therefore, reduce the amount of money we pay.

Solution

We can use Azure Automation service to schedule a PowerShell script to scale down the Web App and the DB during the night and weekends. We can also schedule another PowerShell script to scale up the Web App and the DB during before the business hours.

You will need to setup an System Assigned Identity to the Azure Automation account to connect with the Azure Resources. You can follow the steps in this article.

Let's explore the PowerShell scripts that we can use:

Scale Up or Down the Web App

$resourceGroupName = '<Your Resource Group>'
$appServicePlanName = '<Your App Service>'
$tier = '<Tier you would like to scale down - For example: Basic>'
try
{
filter timestamp {"[$(Get-Date -Format G)]: $_"}
Write-Output "Script started." | timestamp
Write-Verbose "Logging in to Azure..." -Verbose
Connect-AzAccount -Identity
Write-Verbose "Login sucessful. Proceding to update service plan..." -Verbose
Set-AzAppServicePlan -ResourceGroupName $resourceGroupName -Name $appServicePlanName -tier $tier
Write-Verbose "Service plan updated. Getting information about the update..." -Verbose
$appPlanService = Get-AzAppServicePlan -ResourceGroupName $resourceGroupName -Name $appServicePlanName
Write-Output "App Service Plan name: $($appPlanService.Name)" | timestamp
Write-Output "Current App Service Plan status: $($appPlanService.Status), tier: $($appPlanService.Sku.Name)" | timestamp
Write-Output "Script finished."
}
catch {
Write-Verbose "Error... '$_.Exception'" -Verbose
Write-Error -Message $_.Exception
throw $_.Exception
}

Scale Up or Down the SQL Azure

$resourceGroupName = '<Your Resource Group>'
$SqlServerName = '<Your SQL Azure Server Name>'
$DatabaseName = '<Your SQL Azure DB Name>'
$Edition = '<Tier you would like to scale down - For example: Basic>'
$PerfLevel = '<Tier you would like to scale down - For example: Basic>'
try{
filter timestamp {"[$(Get-Date -Format G)]: $_"}
Write-Output "Script started." | timestamp
Write-Verbose "Logging in to Azure..." -Verbose
Connect-AzAccount -Identity
Write-Verbose "Login sucessful. Proceding to update SQL Server plan..." -Verbose
Set-AzSqlDatabase -ResourceGroupName $resourceGroupName -DatabaseName $DatabaseName -ServerName $SqlServerName -Edition $Edition -RequestedServiceObjectiveName $PerfLevel
Write-Verbose "SQL Server plan updated. Getting information about the update..." -Verbose
$sqlServerPlan = Get-AzSqlDatabase -ResourceGroupName $resourceGroupName -DatabaseName $DatabaseName -ServerName $SqlServerName
Write-Output "SQL Server Edition: $($sqlServerPlan.Edition)" | timestamp
Write-Output "Current SQL Server Plan status: $($sqlServerPlan.Status)" | timestamp
Write-Output "Script finished."
}
catch{
Write-Verbose "Error... '$_.Exception'" -Verbose
Write-Error -Message $_.Exception
throw $_.Exception
}

Once you create the Runbooks in Azure Automation you can create the schedules and linke the Runbooks to the schedules.

Conclusion

We have seen how we can use Azure Automation and PowerShell to schedule the scaling up or down of the Web App and the SQL Azure. This will help us to save money and also to avoid the downtime during the business hours by adding the resources we do not use at night.

· 5 min read

Duplicate from Xpirit Blog Post

Introduction

Load testing is a technique that focuses on evaluating the performance of an application under normal or expected load conditions. The goal is to determine how the application behaves when it is subjected to the expected levels of usage and traffic. Load testing is often used to verify that a system can handle the expected number of users and transactions, and to identify any performance bottlenecks or issues that may impact the user experience.

Microsoft Azure offers a new service (on preview), called Azure Load Testing. One of the key benefits of using this service is that it allows you to test your application's performance at a scale without having to invest in expensive hardware and infrastructure. Additionally, it is highly configurable and can be used to test applications hosted on a variety of platforms, including Azure, on-premises servers, and third-party cloud providers.

What do we need?

In addition to an Azure Subscription, and a GitHub account, we will need an Apache JMeter script, which typically consists of a series of test elements, including thread groups, samplers, listeners, and assertions. The thread groups define the number and type of virtual users that will be simulated, while the samplers define the specific actions or requests that will be performed by the virtual users. The listeners capture the performance data generated by the test, and the assertions define the expected results of the test and verify that the actual results match the expectations.

Here you can find the script I created as part of this demo

Here you can find the script I created as part of this demo

Getting Started

In the following example, we are going to use Azure Load Testing in our workflow from GitHub Actions to detect when our web app has reached a performance issue. We are going to define a load test scenario with a specific number and type of virtual users that will be simulated, as well as the test duration and the type of workload to be simulated, which in this case is just an HTTP Request. In addition, you can also use either Visual Studio or the Azure Portal to create and configure your load test scenario.

Once the load test scenario is defined, we can review the results and monitoring data, which includes metrics such as response time, CPU usage, and network traffic, as well as custom performance counters that we can define. With this data we identify bottlenecks and optimize the application's performance.

The scenario

I developed a simple Web App built with ASP.NET Core using .NET 7 that connects to an Azure Cosmos DB and adds a record of each visit to the page and retrieves the data from all the visits.

Load Testing Sample Web App

The environment

This web app is running on an App Service Basic plan, and it has Applications Insights to monitor the performance of the application. The Cosmos DB is set with the free tier (1000 RU/s and 25 GB). I want to find out if the application running on this environment can support up to 100 concurrent users.

Azure Portal for Load Testing

The repository

You can check out the GitHub repository here. There you can fork the repository, use the ARM template.

Note: Microsoft Azure only allows you to create one Cosmos DB Free Tier resource per subscription, you might get an error if you already have one Cosmos DB Free Tier in your subscription.

This repository has a GitHub Action that Build & Deploy the application and run the Load Test in Azure Load Testing.

GitHub Action Run for Load Testing

The GitHub Action

The workflow consists of three steps (Build, Deploy and Load Testing) and runs on every push. The Load Testing job uses the following files in the root folder:

The Azure login is required to communicate with the Azure Load Testing service to send the JMeter script and the configuration for the test. In this configuration we can define the number of engines we want to run the test and the failure criteria, in this case we have an average response time lower than 5 seconds and error percentage lower than 20%.

The Results

As you can see in the image above, the Load Test failed because the average response time was higher than the threshold (5 seconds), we can get more details about the test run in the Azure Portal. You can download the results here.

Test Results from Azure Load Testing

In the Azure App Service, we can see the metrics with the response times (higher than 5 seconds) and the number of requests with the Data in and Data out. Azure App Service Metrics

In addition, I added Application Insights to monitor the web app, in the Azure Portal we can see the performance issues and failures.

Application Insights

From the image above you can see where the requests came from, in this case I am running Azure Load Testing in the East US region (Virginia).

App Insights Failures

Conclusions

The Load Testing should not be running on a production environment, try it on a QA or Pre-Production. Even if you are running on deployments slots, remember that the app will still run on the same App Service Plan, and this could affect your production environment or cause a Denial-of-Service Attack.

If you would like to learn more about Azure Load Testing, I recommend you review the service documentation.